Höfner Double Bass Repair – Part 8

Here is a photo of the almost finished bass. Bridge height adjusters have been installed and the strings are on. Notice the blistering of the varnish. This is one of the features the customer wanted to retain … and I agree with that decision. “Remove the gunk – keep the funk.”

Hofner double bass repair

Hofner double bass almost finished

… and here is the bass all done.

Hofner double bass

Hofner double bass repaired

Höfner Double Bass Repair – Part 7

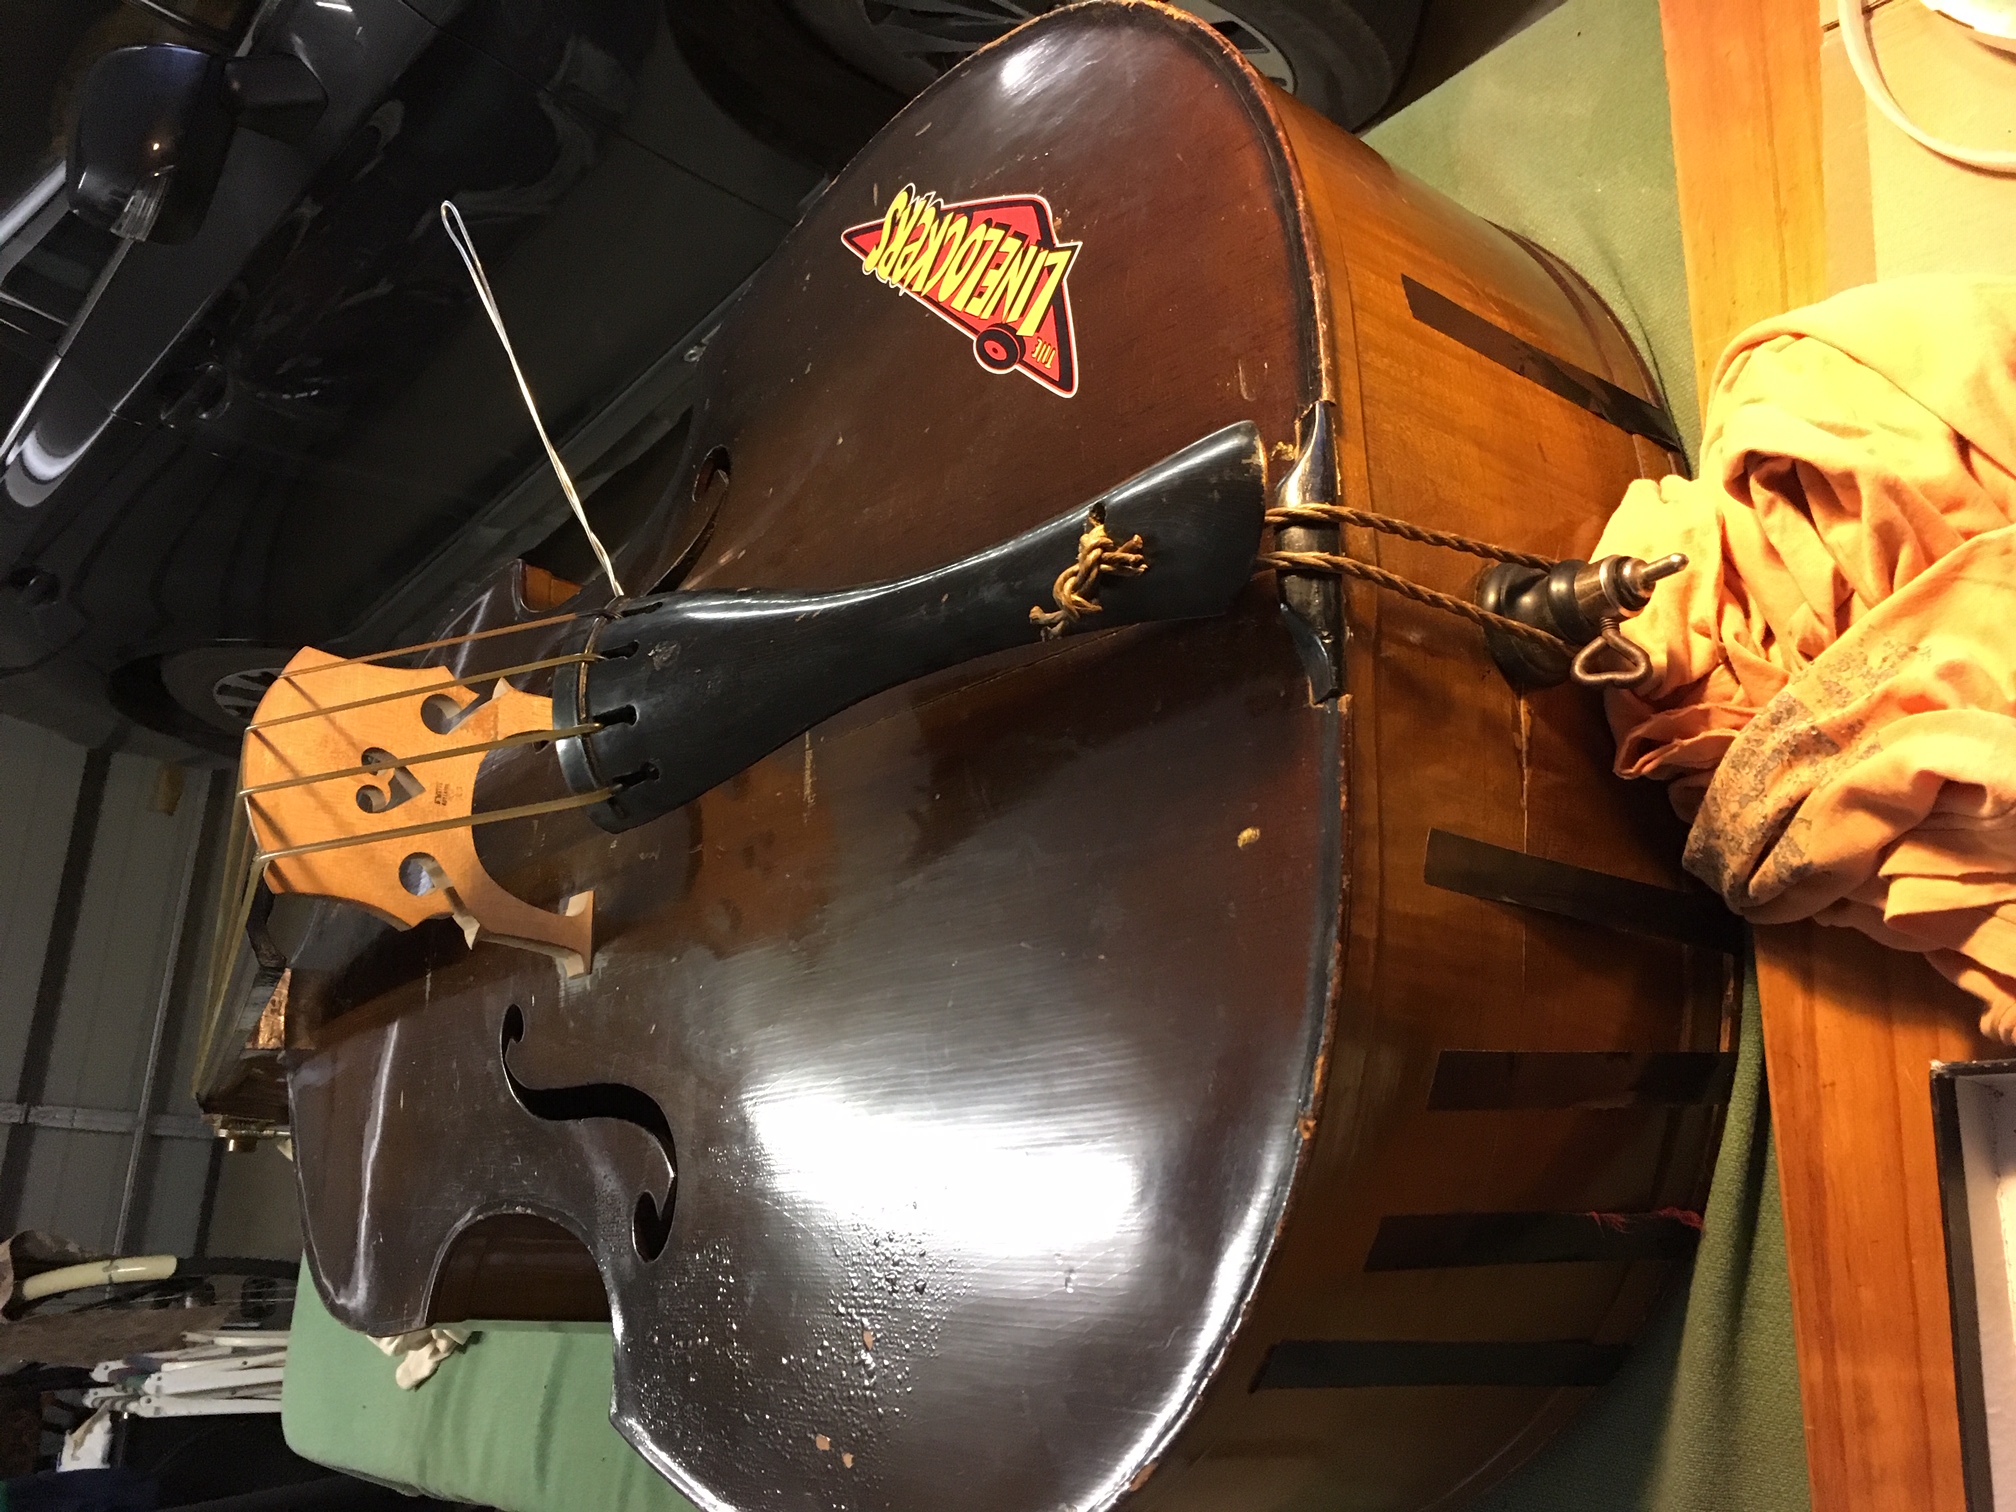
Now on to the peg box. This was a perfect time for an upgrade of the tuners. In my experience, single tuning machines make any double bass sound better. With “better” I mean more rich and woody*. I guess this is because the “two-plus-two” tuner combinations (two tuners attached to a heavy brass plate on either side of the peg box) are more rigid, have much more metal, and therefore make the bass sound more rigid and metallic.

(When I changed the tuners on my 170-year-old French Miracourt bass to single “hat peg” tuners, the bass immediately sounded much more sonorous.)

* Hat peg tuners (where the tuning pegs are usually made of ebony instead of brass) will help the bass sound even more woody than single tuners made entirely of brass. Hat peg tuners are, however, quite expensive. Single brass tuners (with brass pegs) are almost as good at half the price.

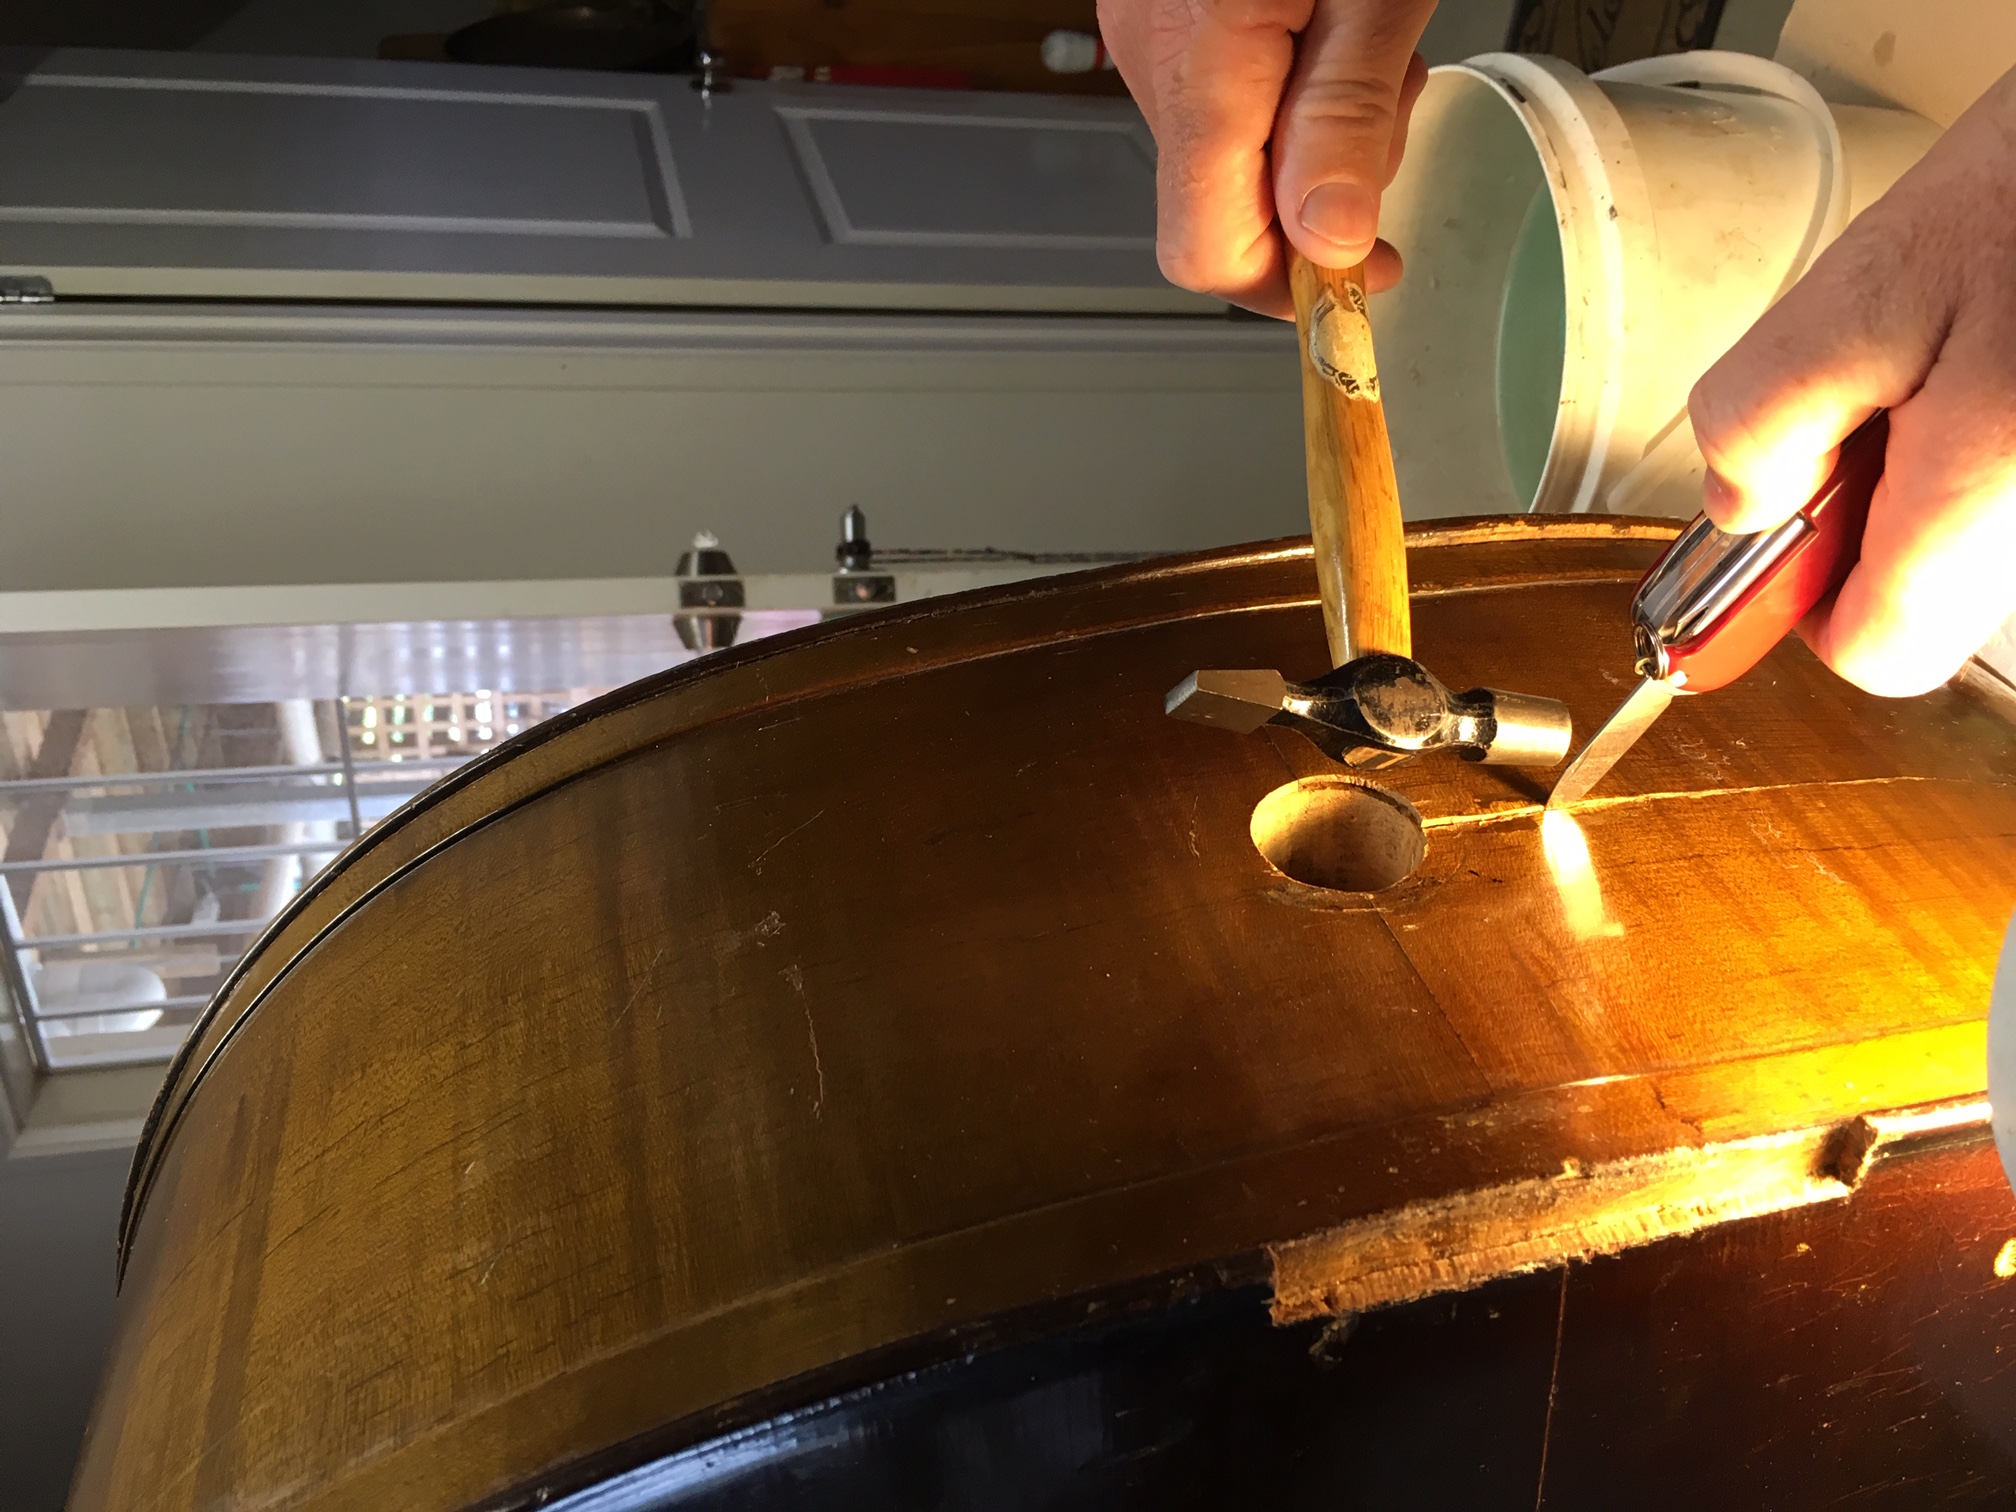
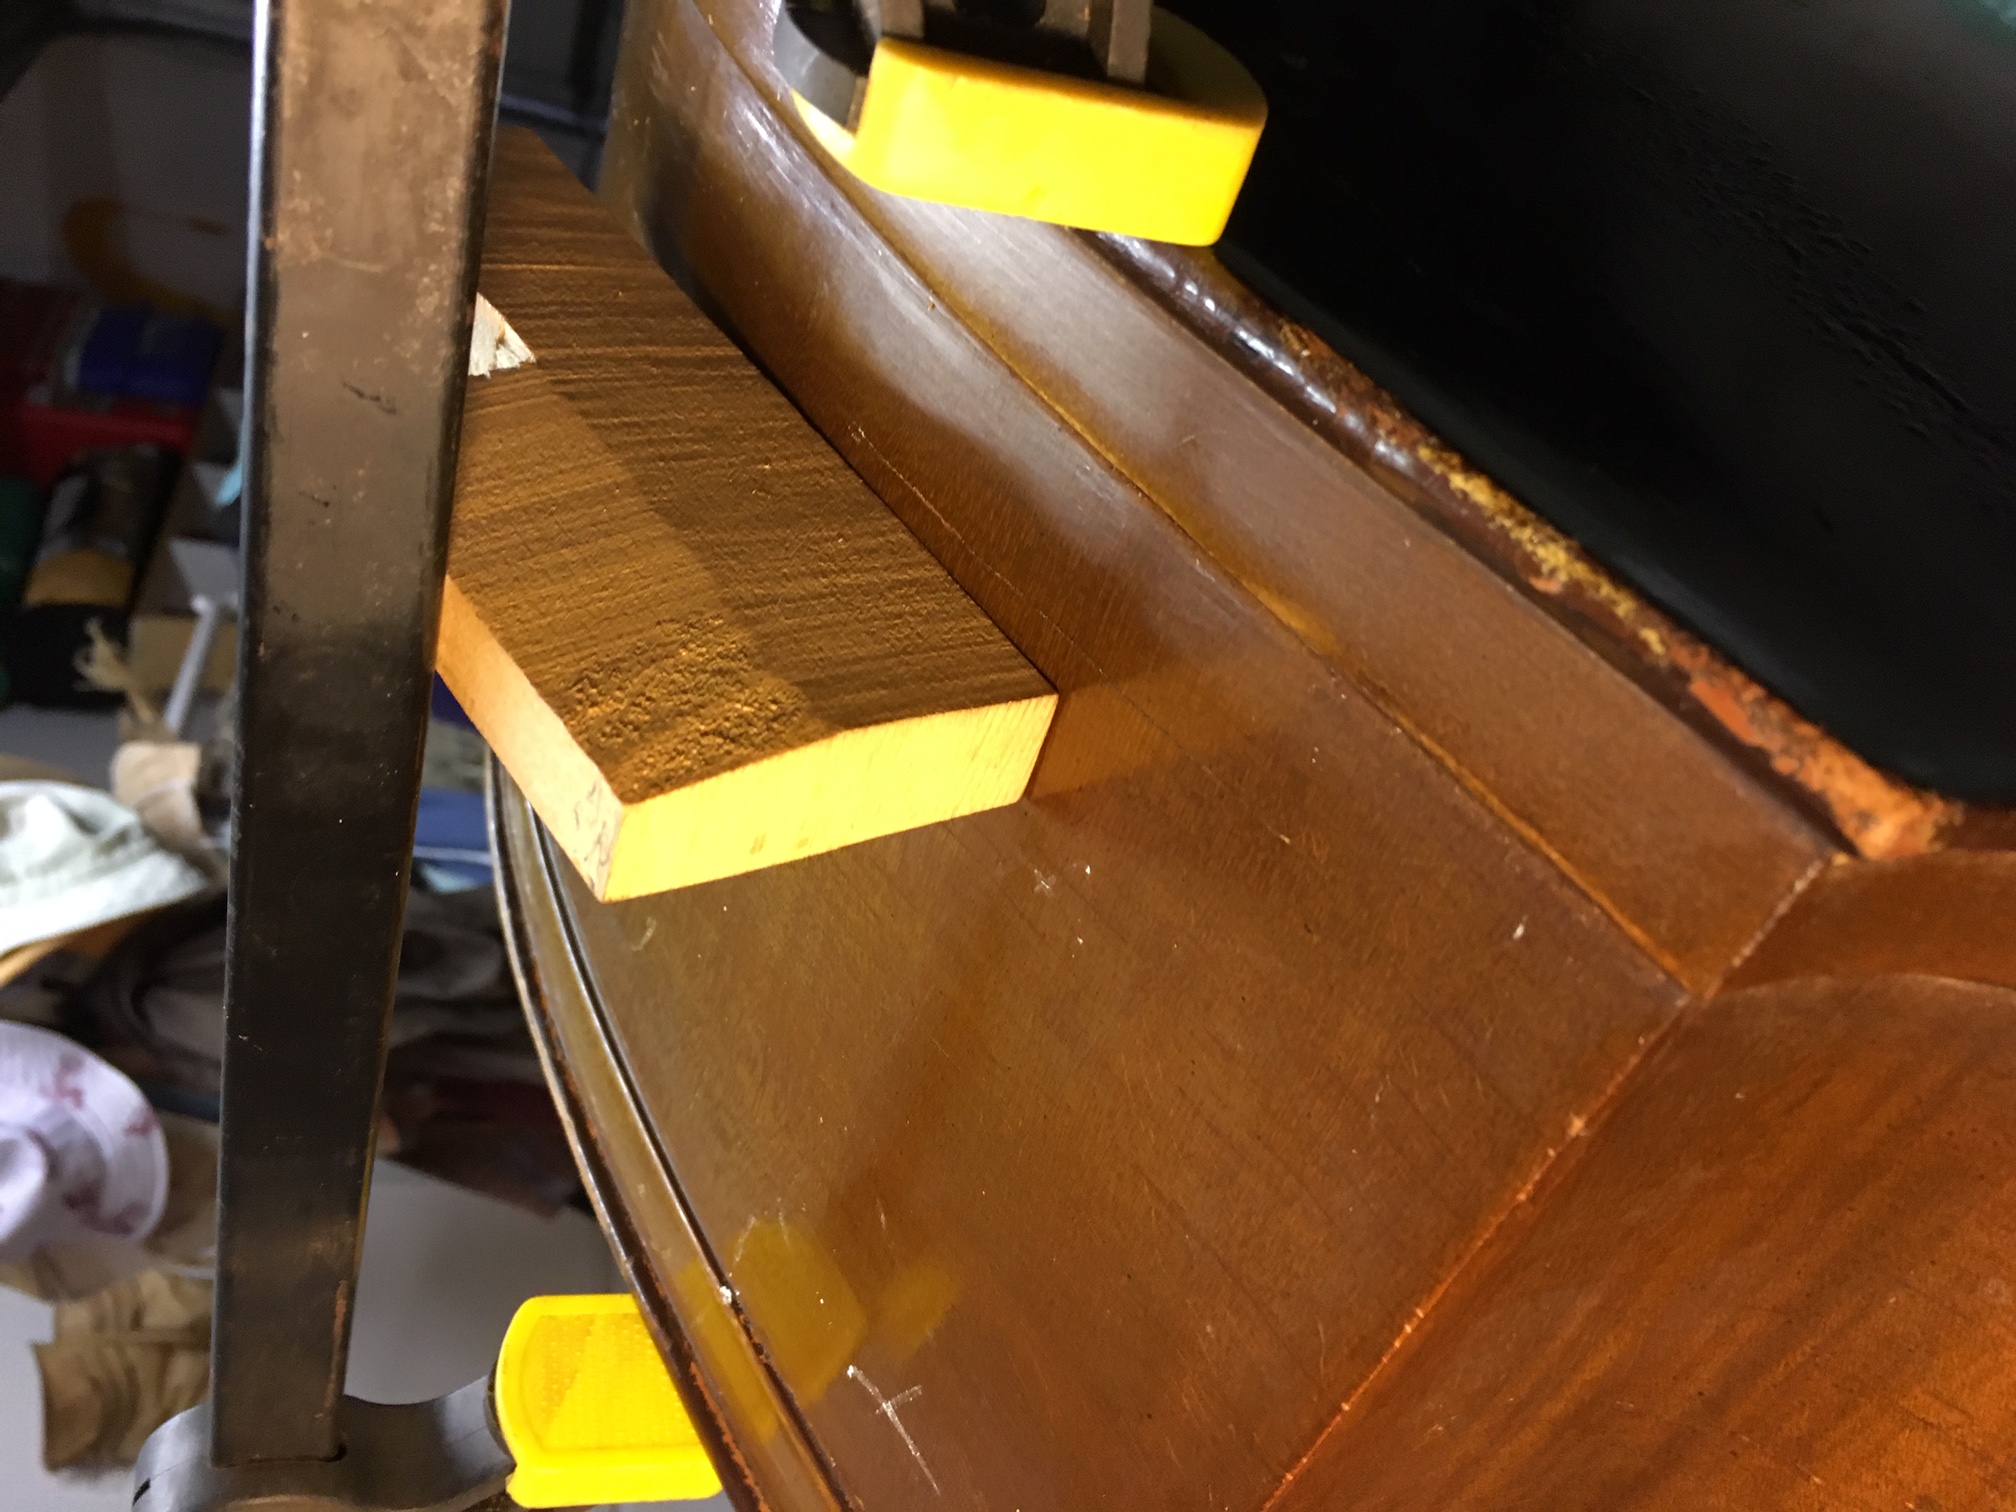
The photo below shows the peg box with the old tuners removed. The customer already knew that there had been some inaccurate work done on the peg box sometime ago. So we both knew the holes in the peg box would be larger than necessary, but this was going to be only a minor visual blemish. (You’ll see the outcome in the following photos.)

Hofner peg box

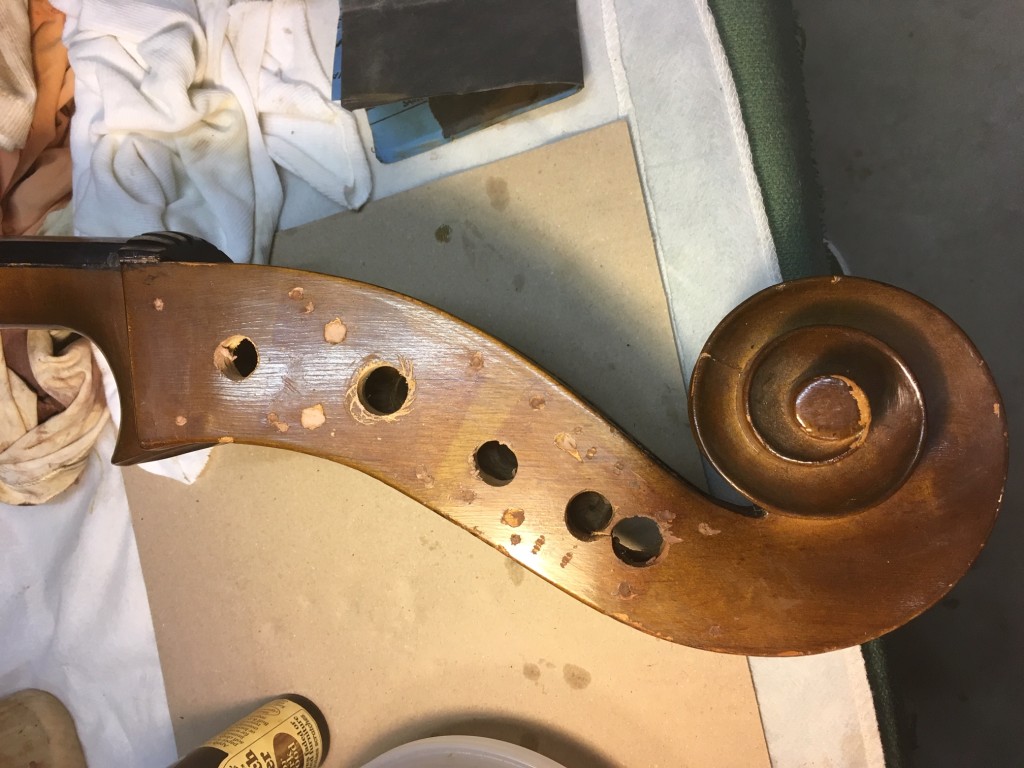
Hofner peg box with tuners removed.

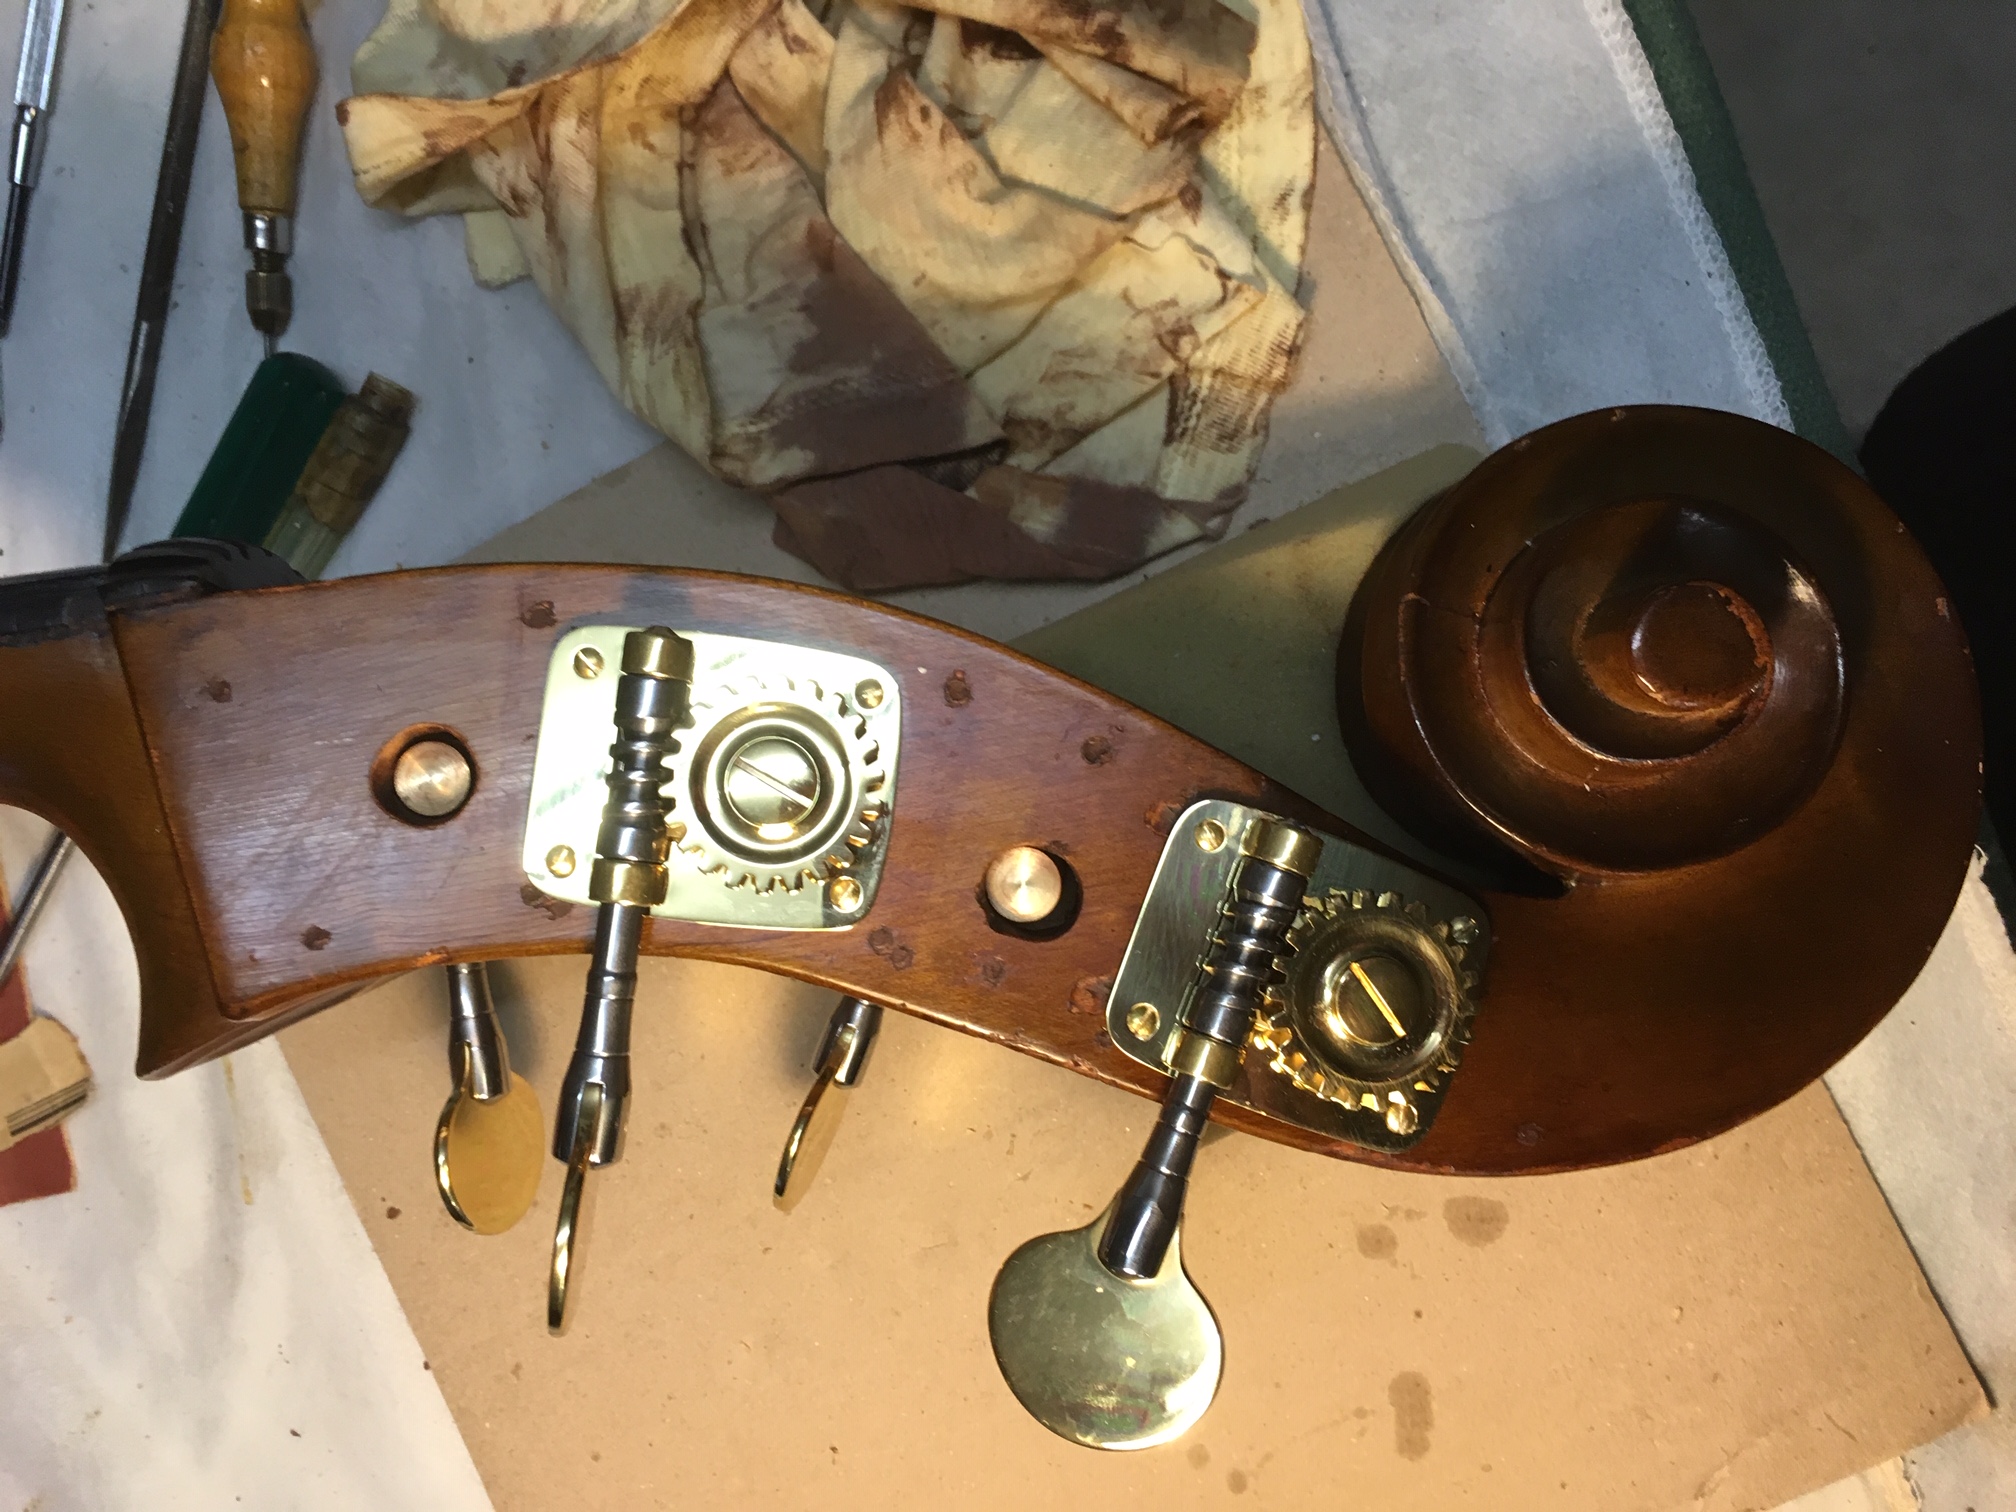
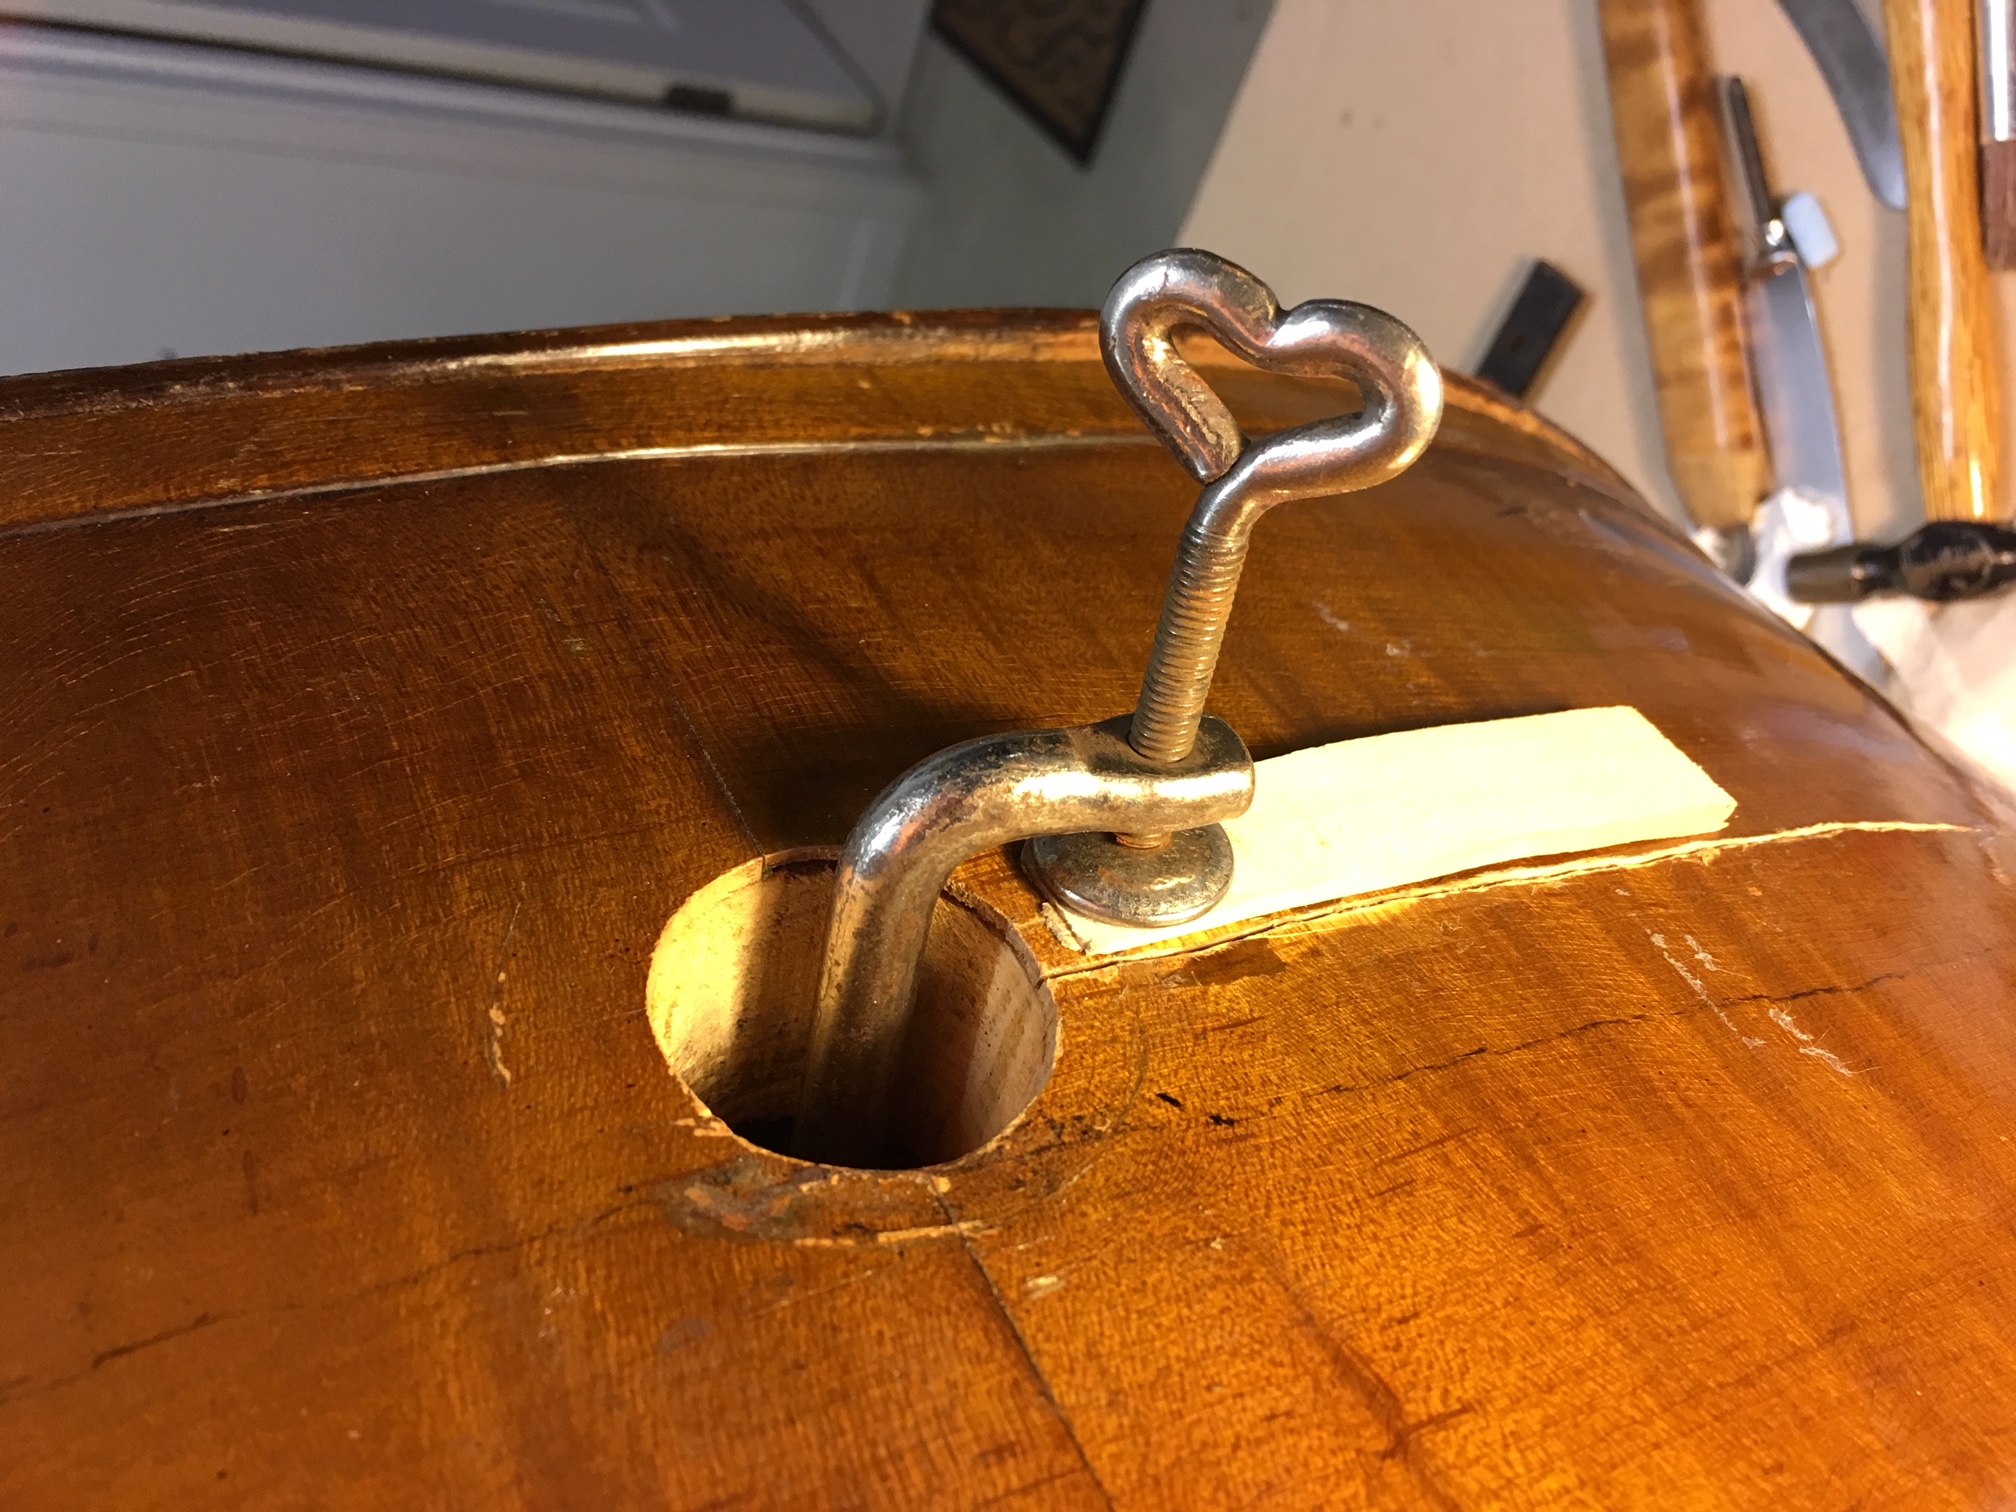
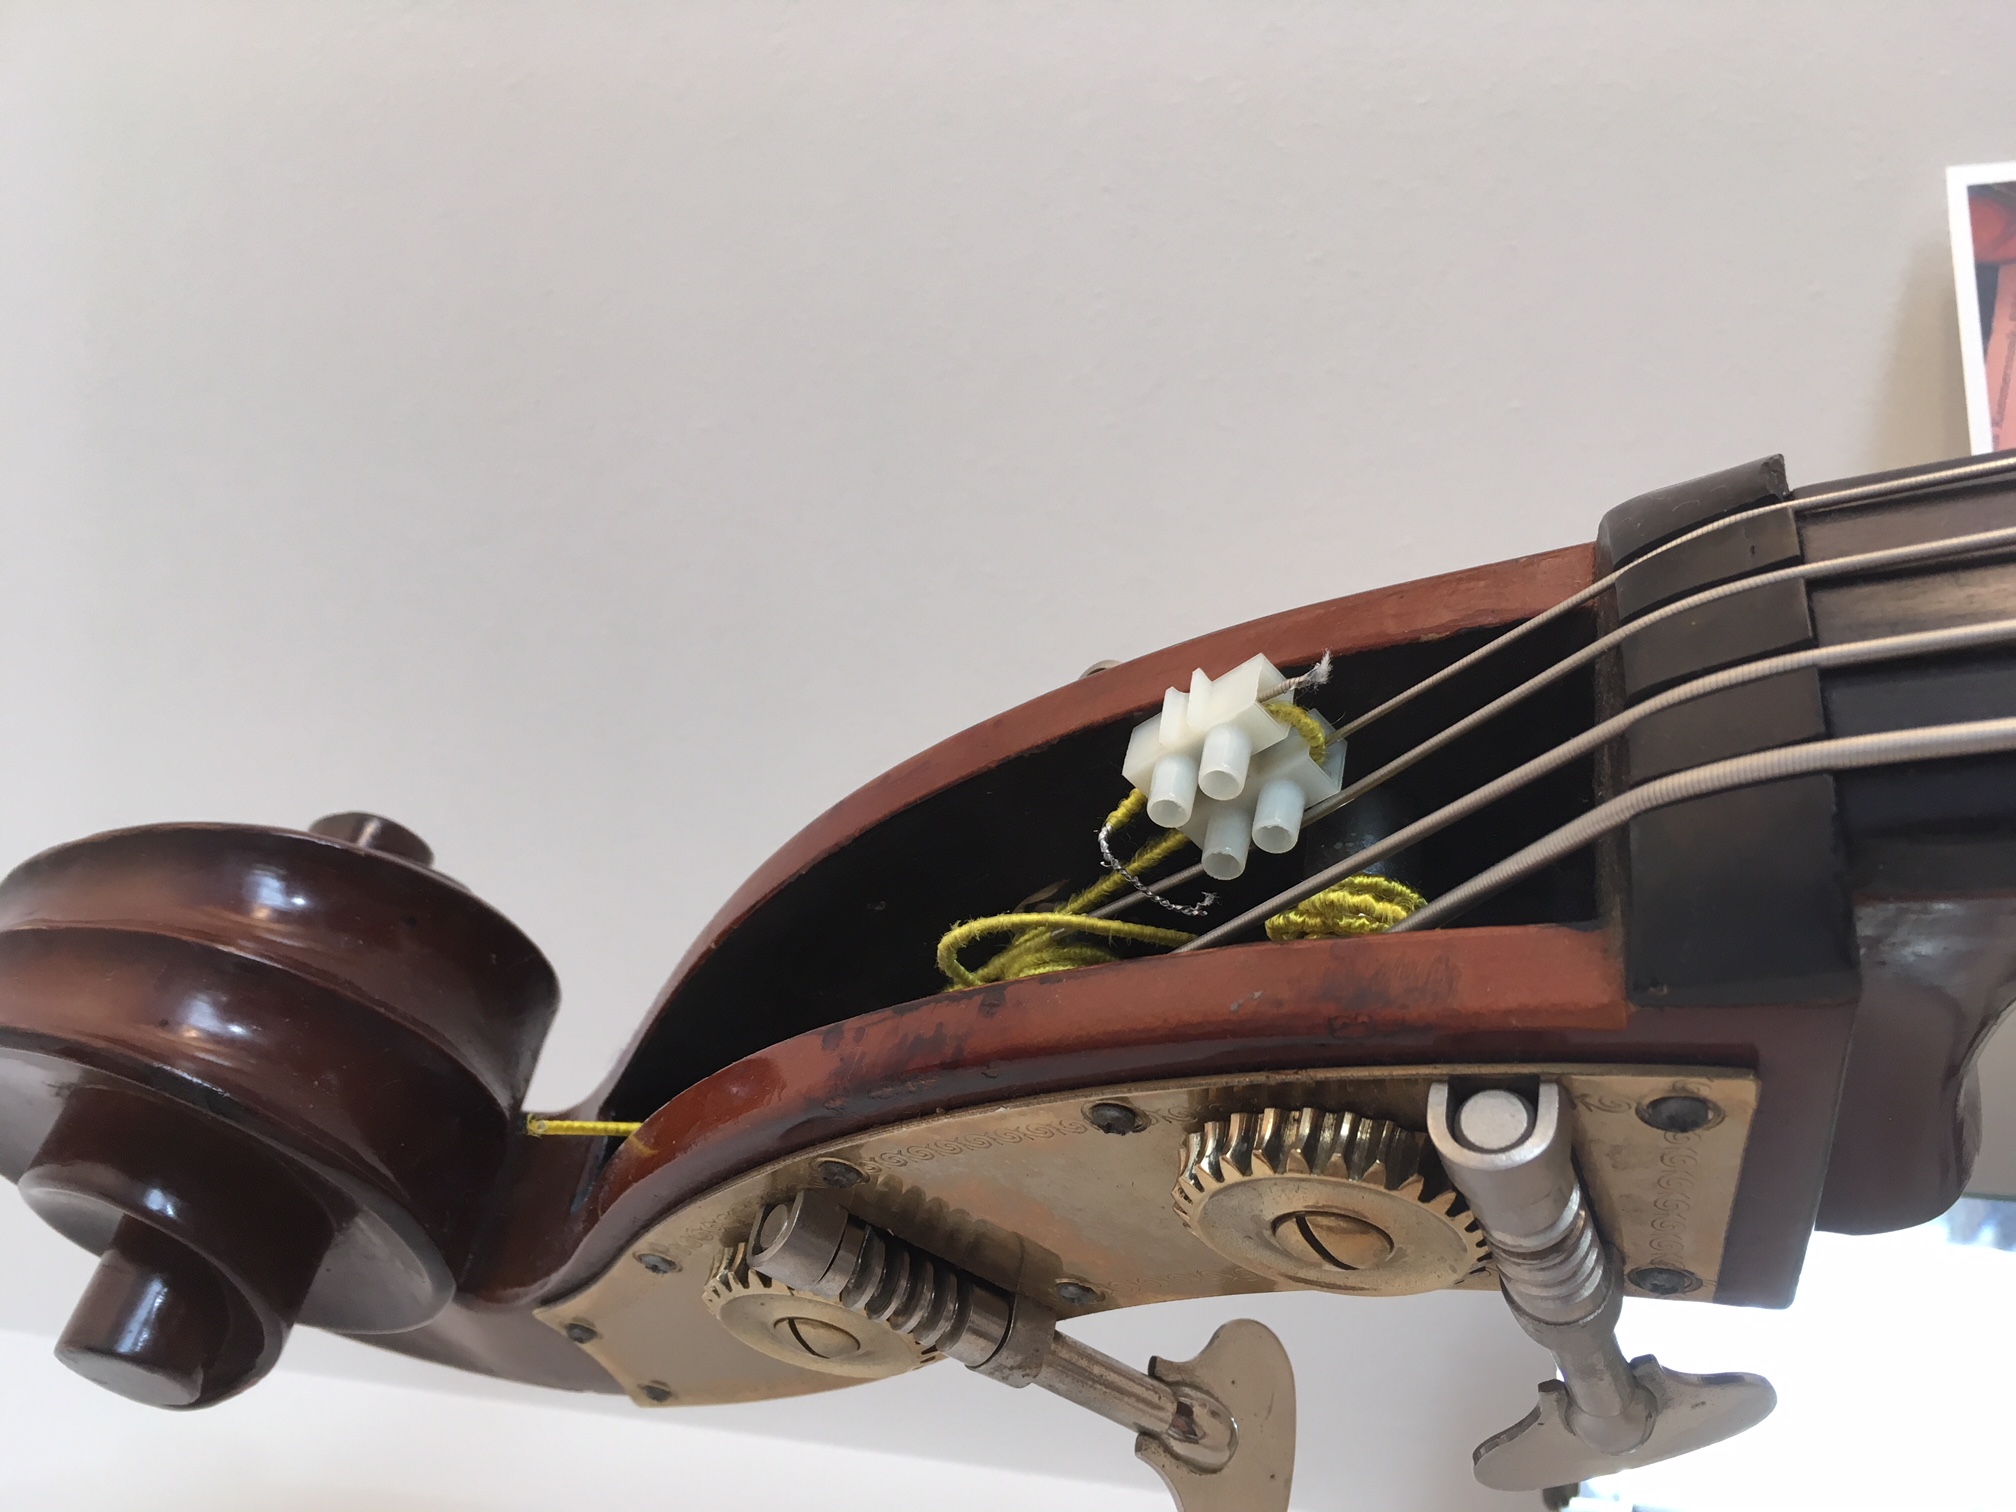
The next photo shows the tuners on the treble side. Some of the old holes and scratch marks have already been treated.

Hofner head treble side

Hofner head treble side

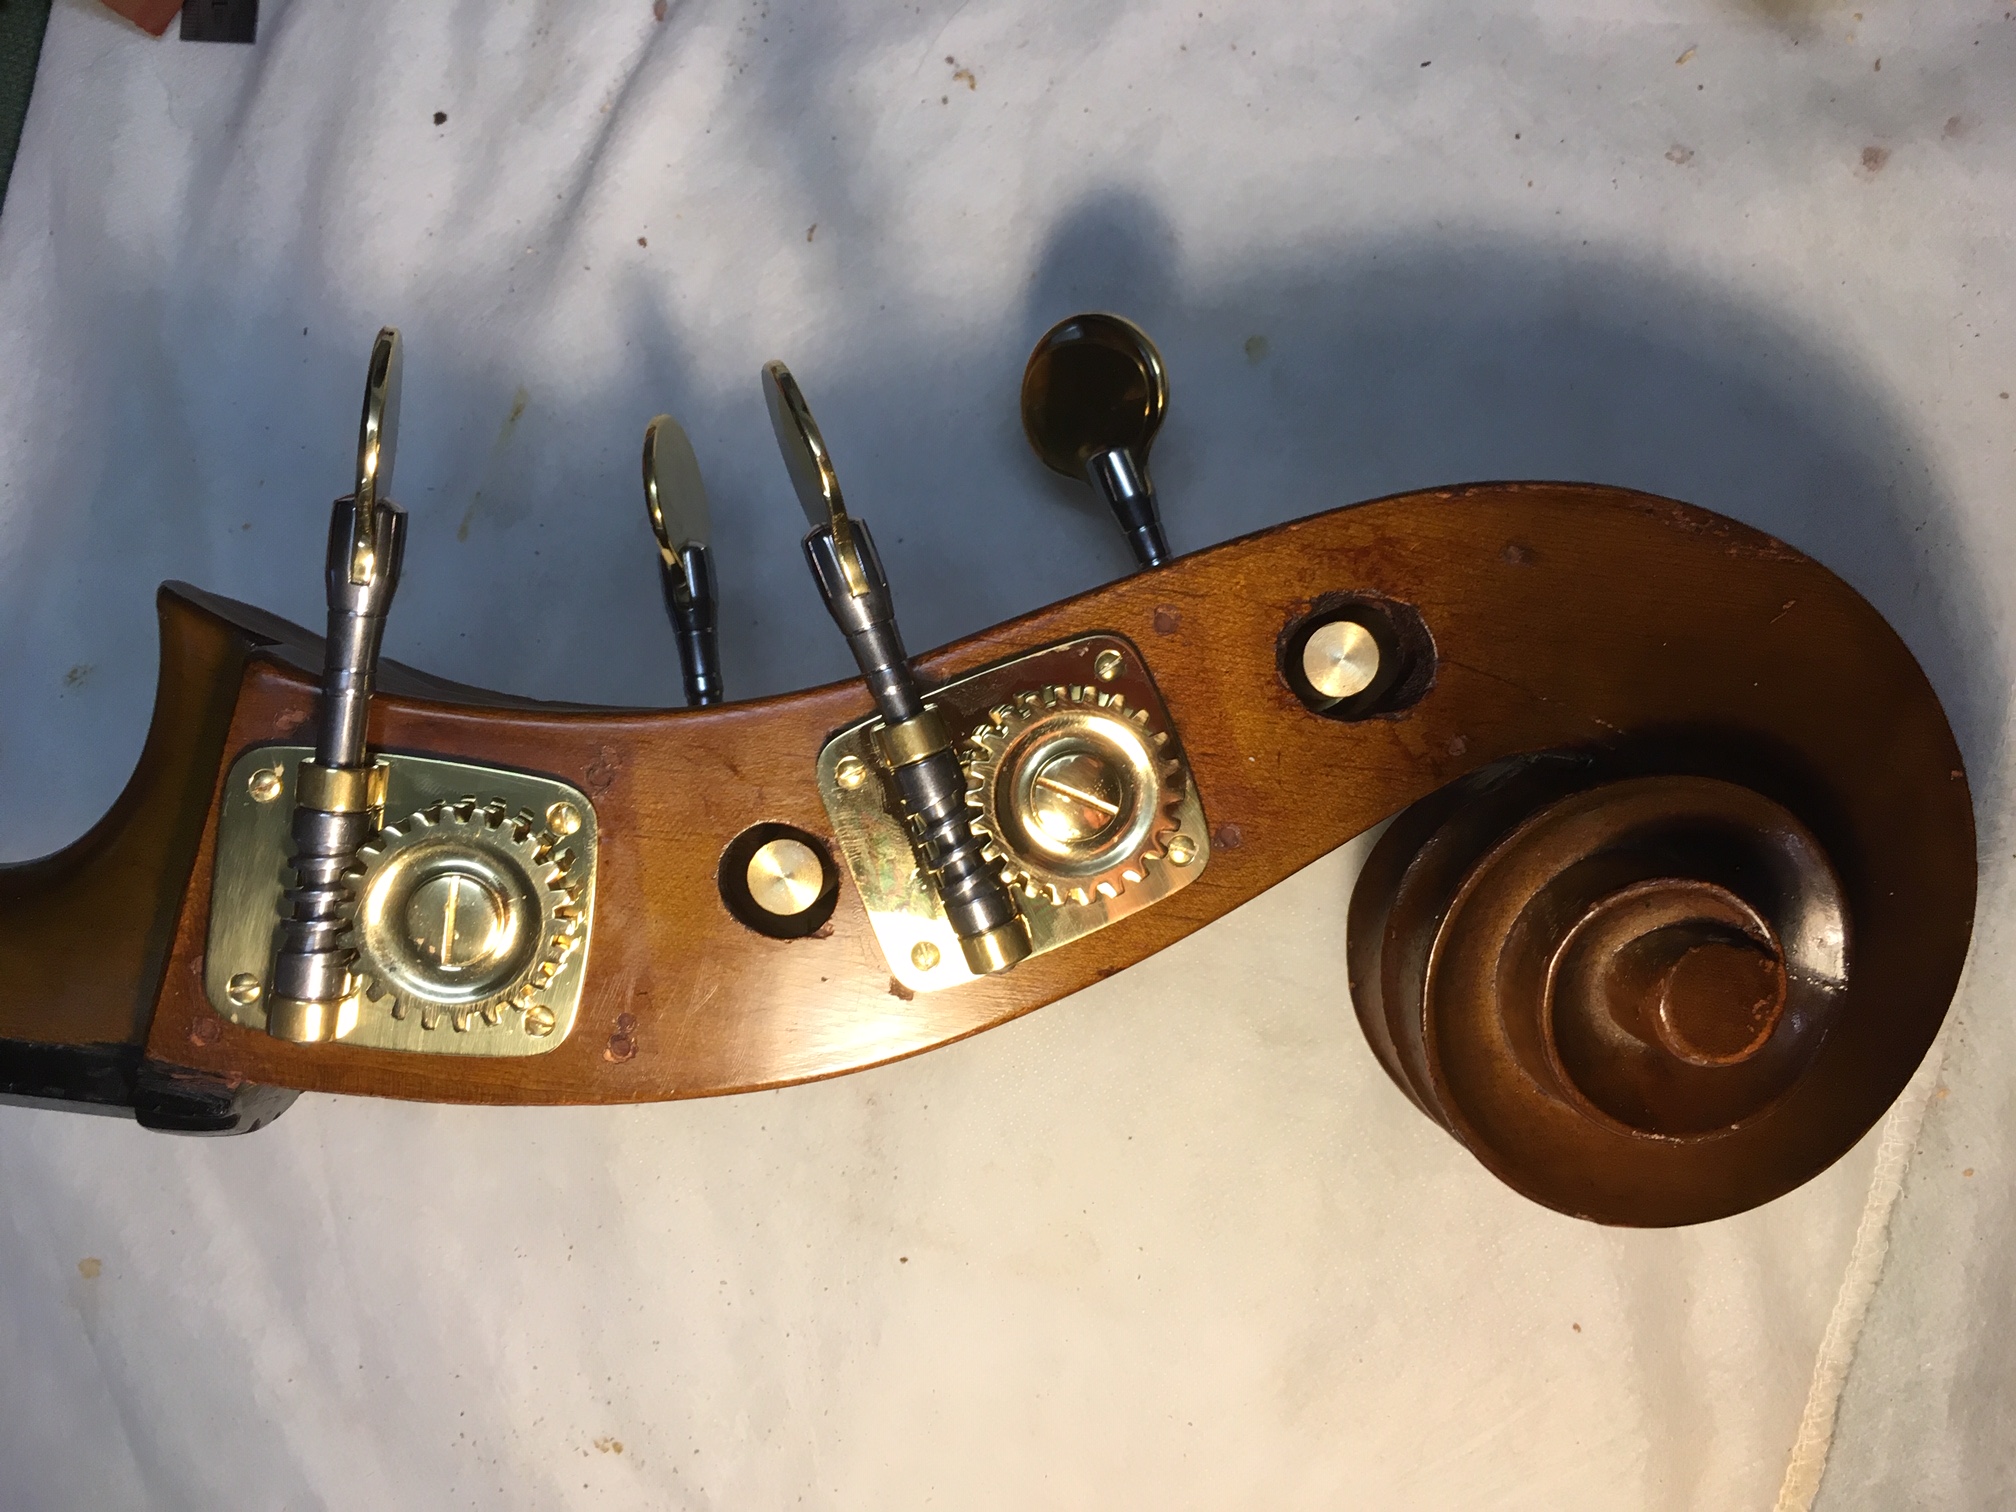
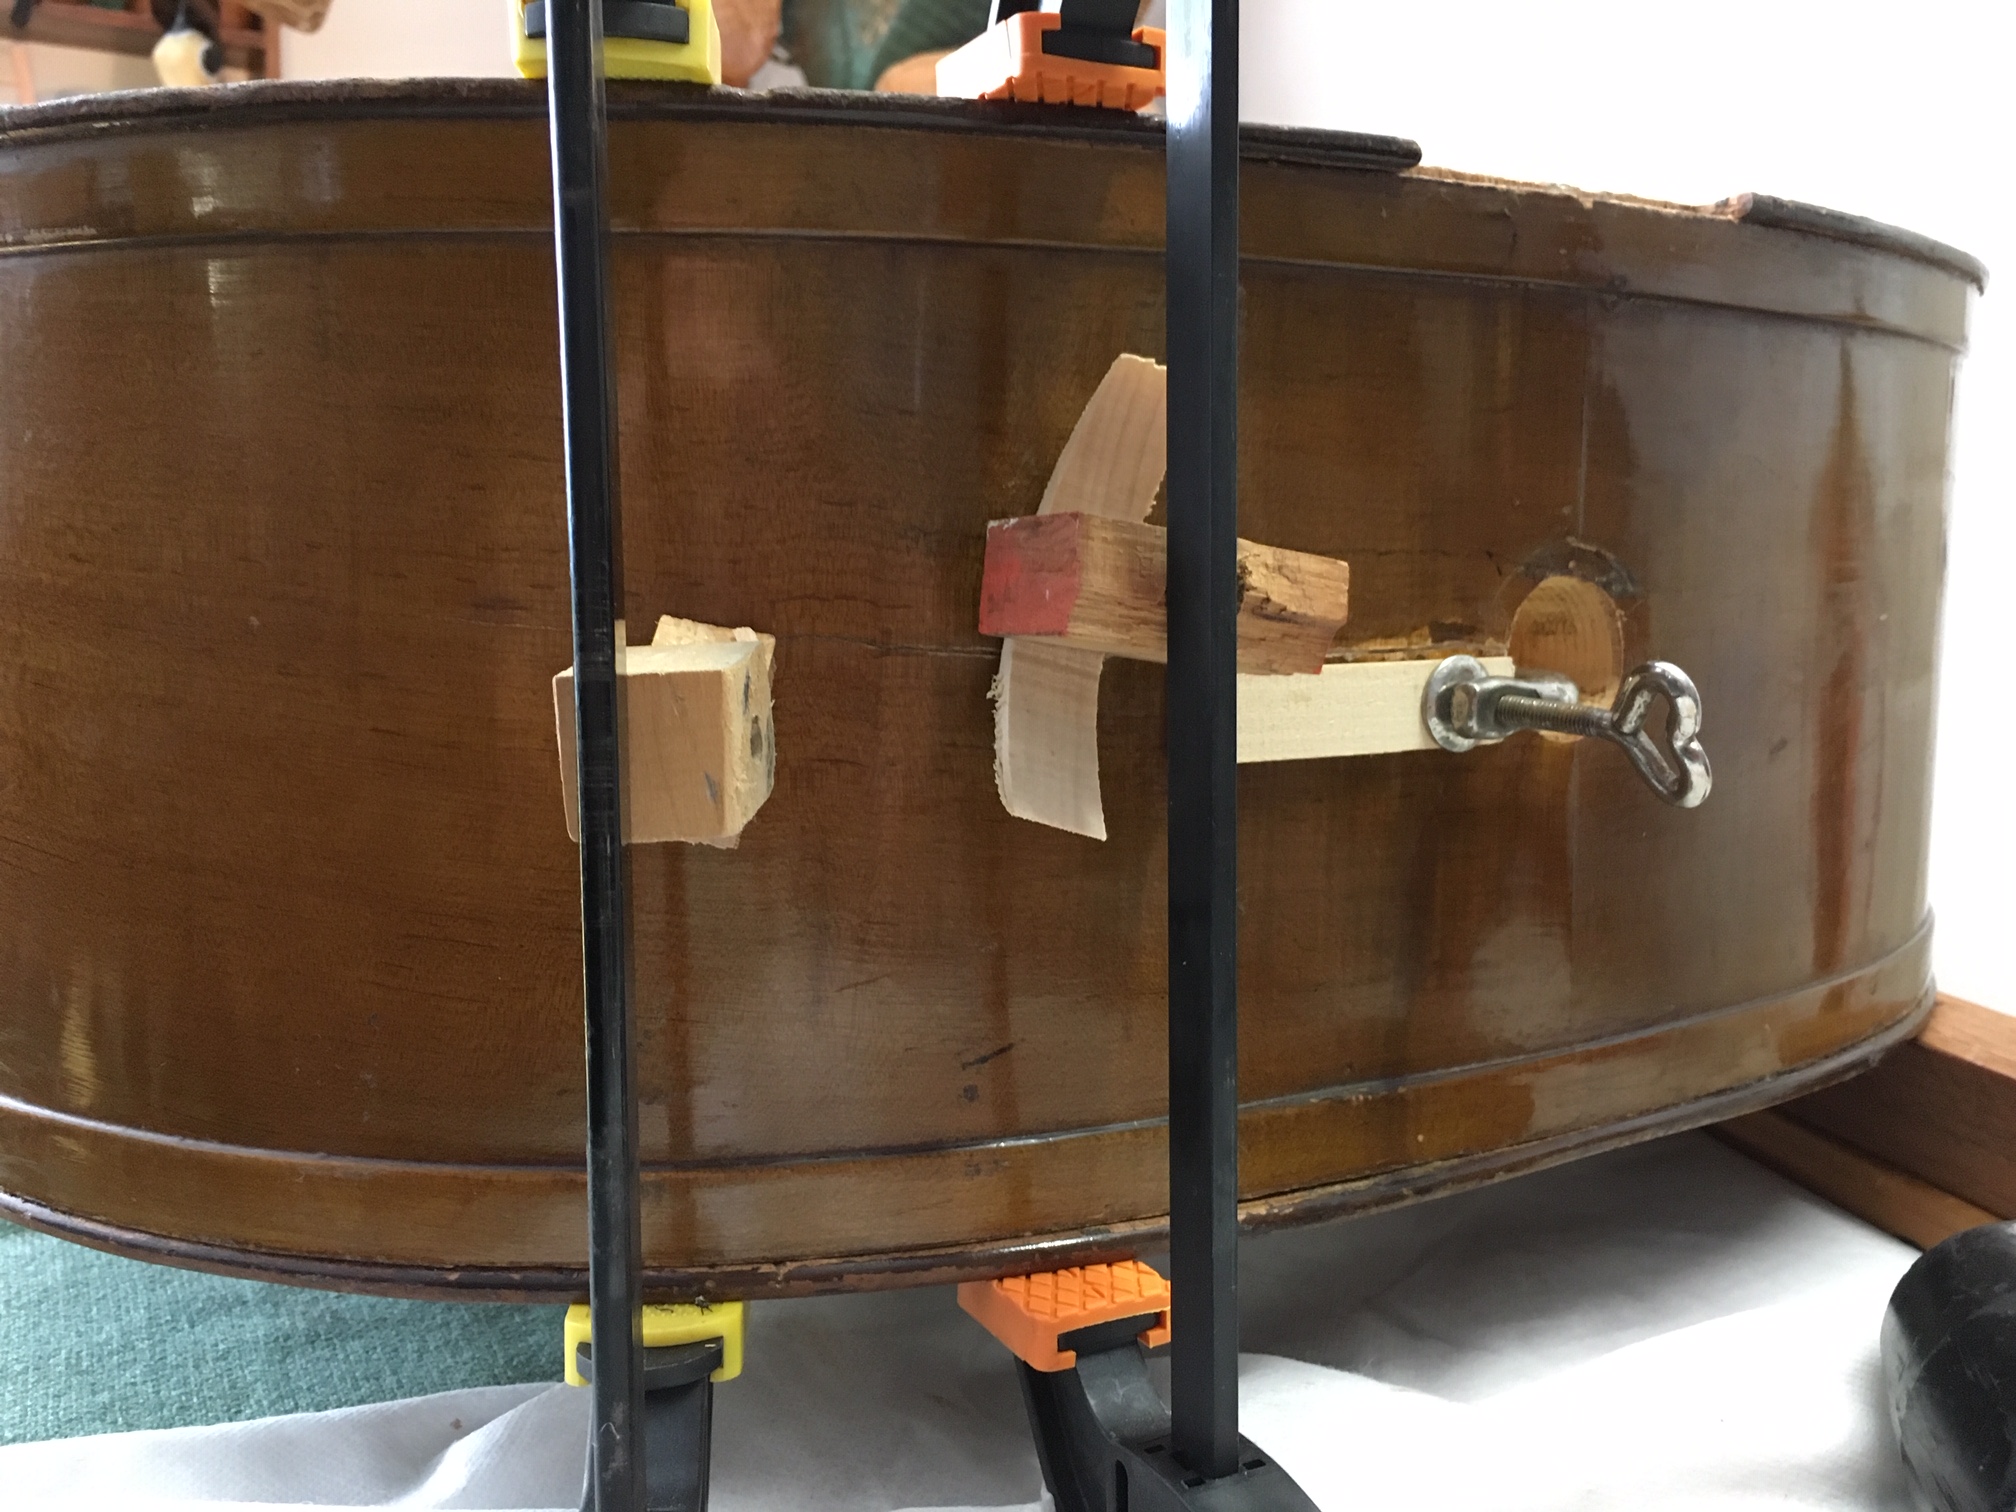
The next photo shows the peg box on the bass side. Here you can see the even larger holes for the pegs (from a previous job.) The pegs move freely, however, because the plates are held in place with four screws each. So, no problem :)

Bass side peg box

Hofner peg box, bass side

And now the top view of the peg box.

Double bass peg box top view

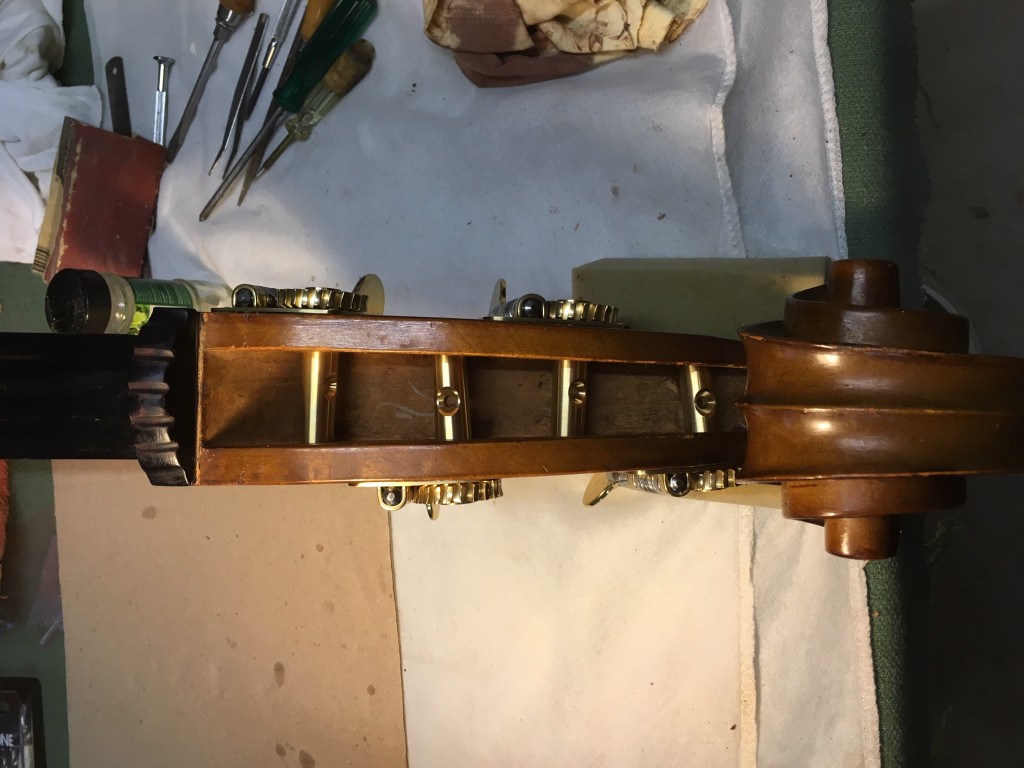
Hofner bass peg box top view

Höfner Double Bass Repair – Part 6

Now that the test stage is completed, comes the actual gluing of the crack at the endpin. To glue the crack beyond the end block (which is not visible from the outside of the bass body) I decided to use linen strips soaked in hide glue. This technique ensures that there is a good, yet flexible gluing surface inside the rib.

Linen is excellent for pulling the crack together … while the glue dries. This age-old method is still used – and for good reason.

The photo below shows me inserting two sticks inside the f-hole. One stick has the glue-soaked linen (I used two strips) on its end and the other stick is to move the linen into place while holding the linen with the other stick.

See the funky lighting! That is a LED strip I inserted into the bass. This gives an excellent view of the inside. An excellent view of my work area was essential in getting the linen strips in the perfect position.

gluing inside double bass

Inserting linen strips inside the lower rib.

Now that’s done I glue the lower rib from the outside. See how the wedges are on different sides of the crack. This is to make sure the glue surface is absolutely flush.

Outside gluing of the lower rib crack.

Outside gluing of the lower rib crack.

Double Bass Repair – Part 5

And now on to repairing the rib crack from the endpin.

This photo shows the careful removal of the old hide glue in the crack. First, the glue has to be heated with warm to hot water to dissolve it. Then the glue is scraped out.

double bass glue removal

Glue removal from crack from double bass endpin.

This photo shows the pre-glue test. I was lucky enough to have a U-clamp that fitted into the endpin hole. Here, too, a wedge is used only on one side of the crack to get a flush surface.

Hofner endpin crack test

Double Bass Repair – Part 4

Here are a few more photos of the Hofner double bass repair.

glue removal

Removal of old glue from double bass seam.

The “blotting paper” (from a kitchen roll) was inserted into the seam after the hide glue was removed with hot water and various scraping tools. The paper is to soak up leftover water before it settles into the wood.


rib wedge test

Another wedge test before “live” gluing. Here, as on the top plate, the wedge is to hold down only one side of the rib to make sure it is flush.

I believe in always testing before gluing, especially on cracks. So here is another example of a dry run (literally).

Double Bass Repair – Part 3

Here are photos of the glued and clamped top and backplate of this Höfner double bass.

The rib cracks – and there are many – are yet to be glued and I’ll show you that in the next post.

double bass clamping

Clamping of double bass top and backplate.

Notice the padding under the cross brace at the ribs. This is to prevent slipping of the brace.


double bass clamping

Höfner double bass clamping – endpin view.

Sometimes just an old rag will do as padding :)

Double Bass Repair – Part 2

Here is a photo of one of my pre-glue tests.

I made the cross brace with adjustable wooden clamps (via wing nuts) to enable wedge placement for center seam gluing.

The wooden wedge on one side of the center seam is to make sure the seam is flush with the bass surface. The other wedge (under the tailpiece) goes across the seam.

George Urbaszek Bass Repair

Double Bass Repair George Urbaszek

Double Bass Repairs & Restoration

One of my former students brought in this double bass – possibly a German-made Hofner – for repairs and some restoration work.

It was a joy to work on a bass of decent quality and excellent potential. So, here is a pic of my early prep work. (More reports and images to come later.)

George Urbaszek bass repair

Double Bass taped back

Note the gaffer tape tape strips barely holding the back plate in place. There were many open seams with lots of air, and therefore sound, being lost.

The wire sticking out of the treble-side F-hole is a contraption I made (similar to foreceps) to grip the sound post, with the ability to easily move it if required. These “foreceps” turned out to be a great tool, as sound posts have the habit to easily fall over during repair work …. and, even with a traditional sound post tool, can be a pain to get hold of.

The tailpiece “wire” is made from a gut string. The customer wanted to keep this … and I agree, it looks funky and actually works!

A Rare Fix for a Rare String Breakage

Recently I did some restoration work on a Hofner double bass. To top off my work, I installed a new set of Thomastik Dominant Solo strings. The Dominant strings have a nylon core, sound and feel somewhat like gut strings, but, unlike gut strings, keep their tuning very well. I like to use a Solo set (even on a standard 3/4-size bass) because the lower tension (in normal tuning) is very easy to play whilst maintaining a sufficiently thick sound.

However, after only a very short time – probably about two months – the G string broke/tore at the point where the silk winding meets the outer metal winding around the tuning peg. (See string breakage photo below.) This is a very rare occurrence. Because I thought the cause may be due to a sharp edge in the tuning peg slot, I rounded the slot with a file – just to make sure this does not happen again.

string_break

Because it is quite difficult to acquire a single replacement string in a short time, I thought I would try a quick, temporary fix. So I thought about it for a while, actually until the “quick fix” solution came to me when I was not consciously thinking about the issue at all.

In my toolkit of tricks I found a terminal block (as used for electrical wiring work) which is perfect for this type of job, especially considering that the breakage was within the peg box of the bass. Importantly, to make sure there was no slippage due to the high string tension, I looped each string section through both channels of the terminal block. This has the advantage that each string section is tightened and held down by four screws.

It worked a treat – no slippage. Tuning is stable. Of course it looks odd (see photo below) but hey, whatever works works in “desperate” times.

What do you think?

Double bass string repair